
Crafting with Kenzie: DIY Marbled Polymer Dish
Written by: Kenzie
I bought two small packs of polymer clay months ago for reasons I don’t remember anymore. Sundays, though, I feel like are perfect for crafts so I busted out the clay this past Sunday to make a personalized ring dish to give as a bridal shower gift. What better time to try something new than a lazy Sunday afternoon?
The dish was actually simple to make and you can personalize it by incorporating fried flowers, pressing flowers, lace, or glitter into the clay, or pressing in initials or cute sayings. You can use whatever color you want and make whatever shape you want so really, the possibilities are endless.

Here’s what you’ll need:
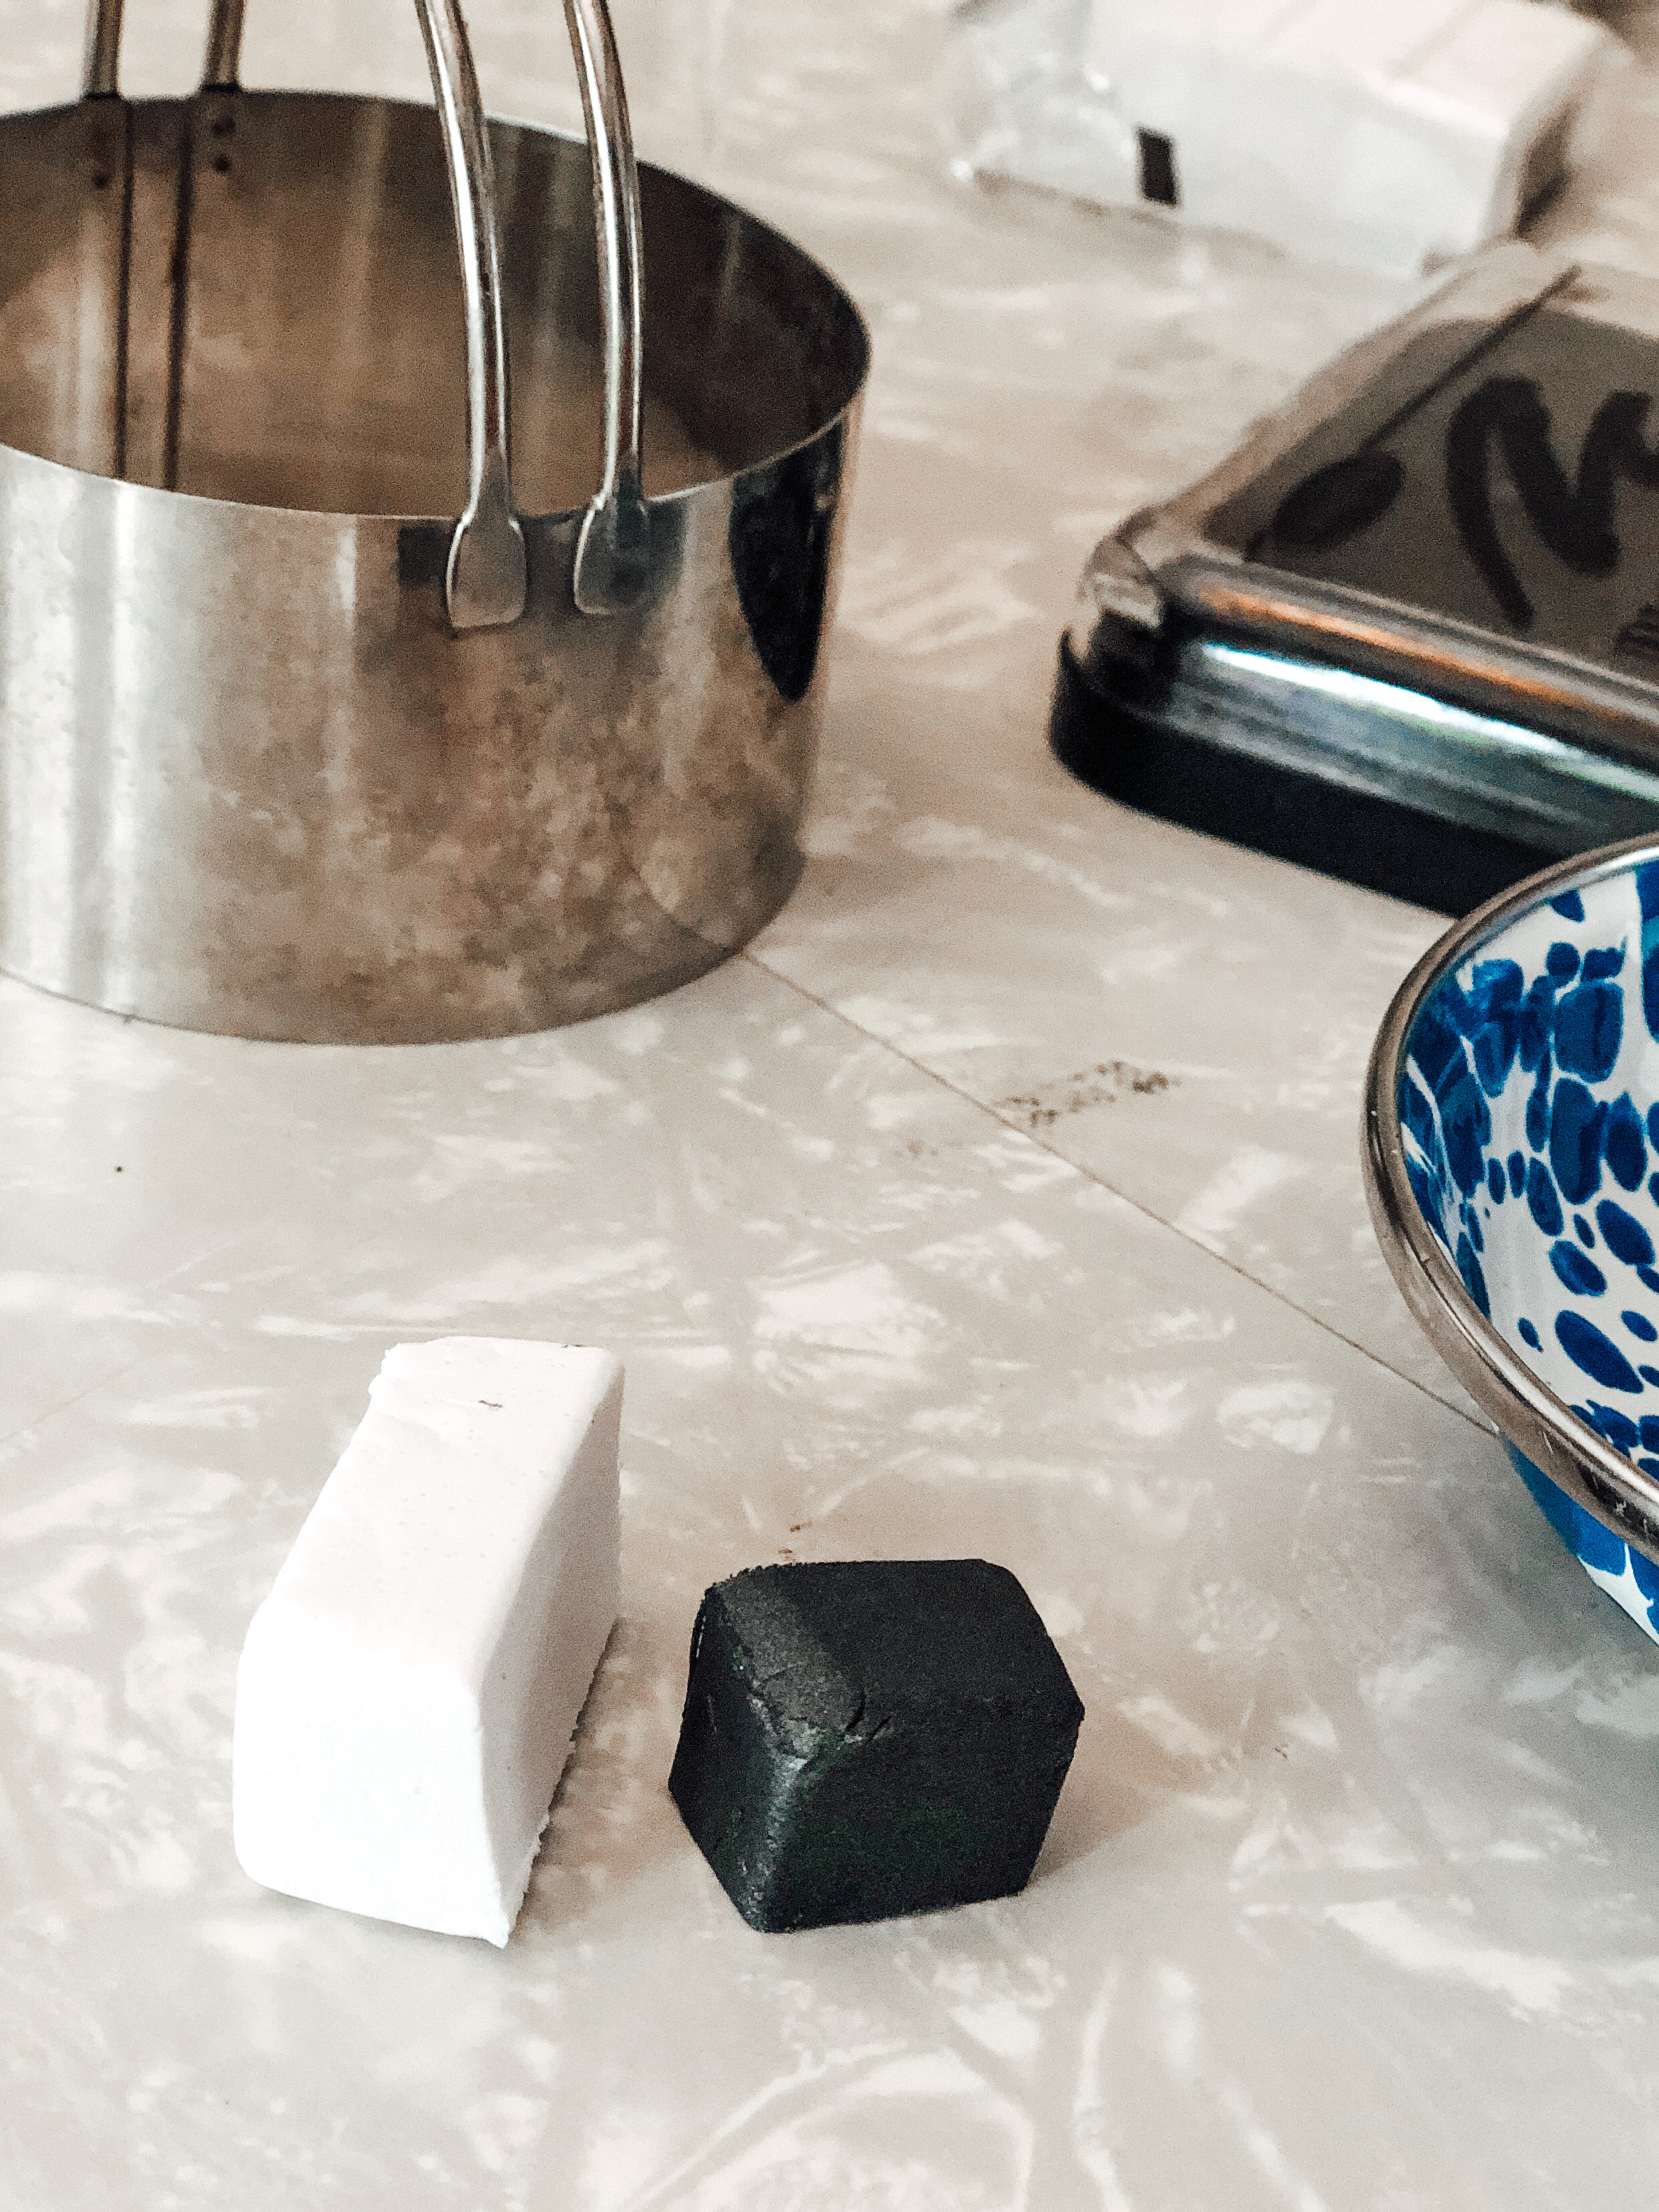
Polymer clay (I used two colors for marbling)
Rolling pin (I’m using this glass vase because our rolling pin is huge)
Letter stamps (optional)
Gold paint and paintbrush (optional)
Sharp knife
Bowl for shaping
Parchment paper and pan for baking
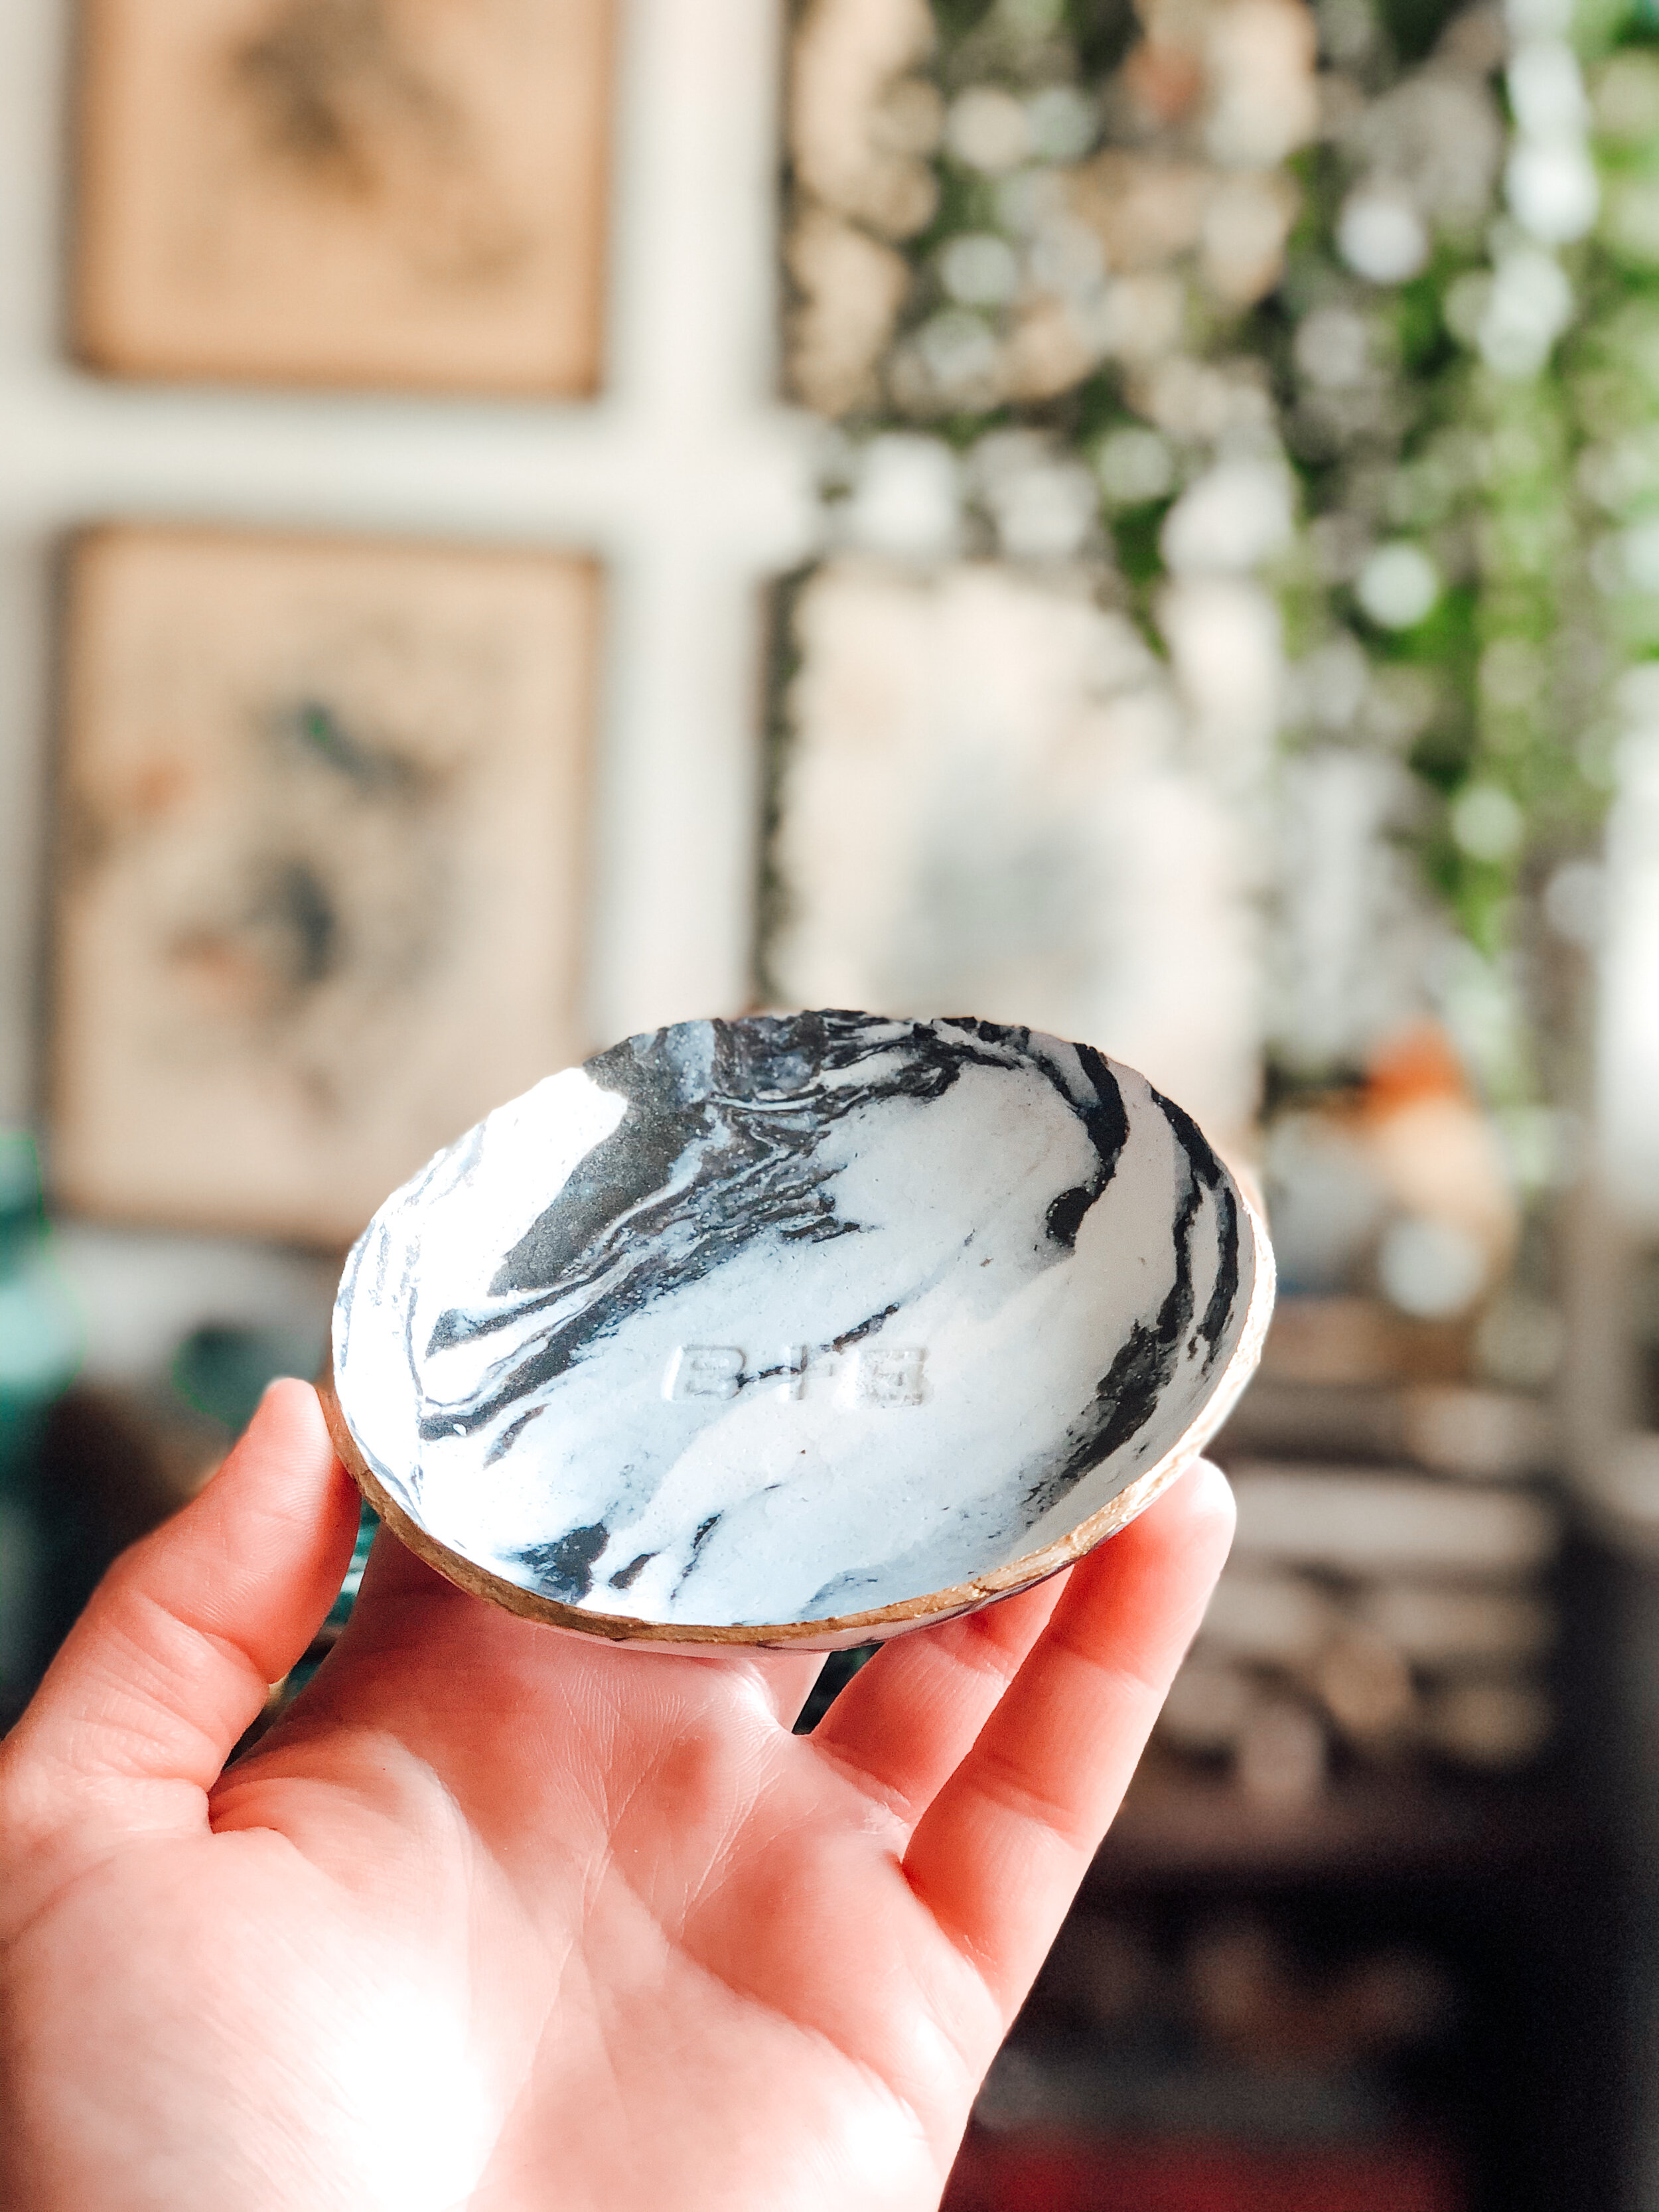
Start by cutting off the clay you’ll need into a manageable size (I’m using white with glitter and a smaller amount dark gray for marbling) and massage and knead until it is pliable. Roll the white clay out into a small disk. Place two “snakes” of the darker color on the white and then roll it all up. Continue to work the clay, folding and kneading, to create the marbling effect.

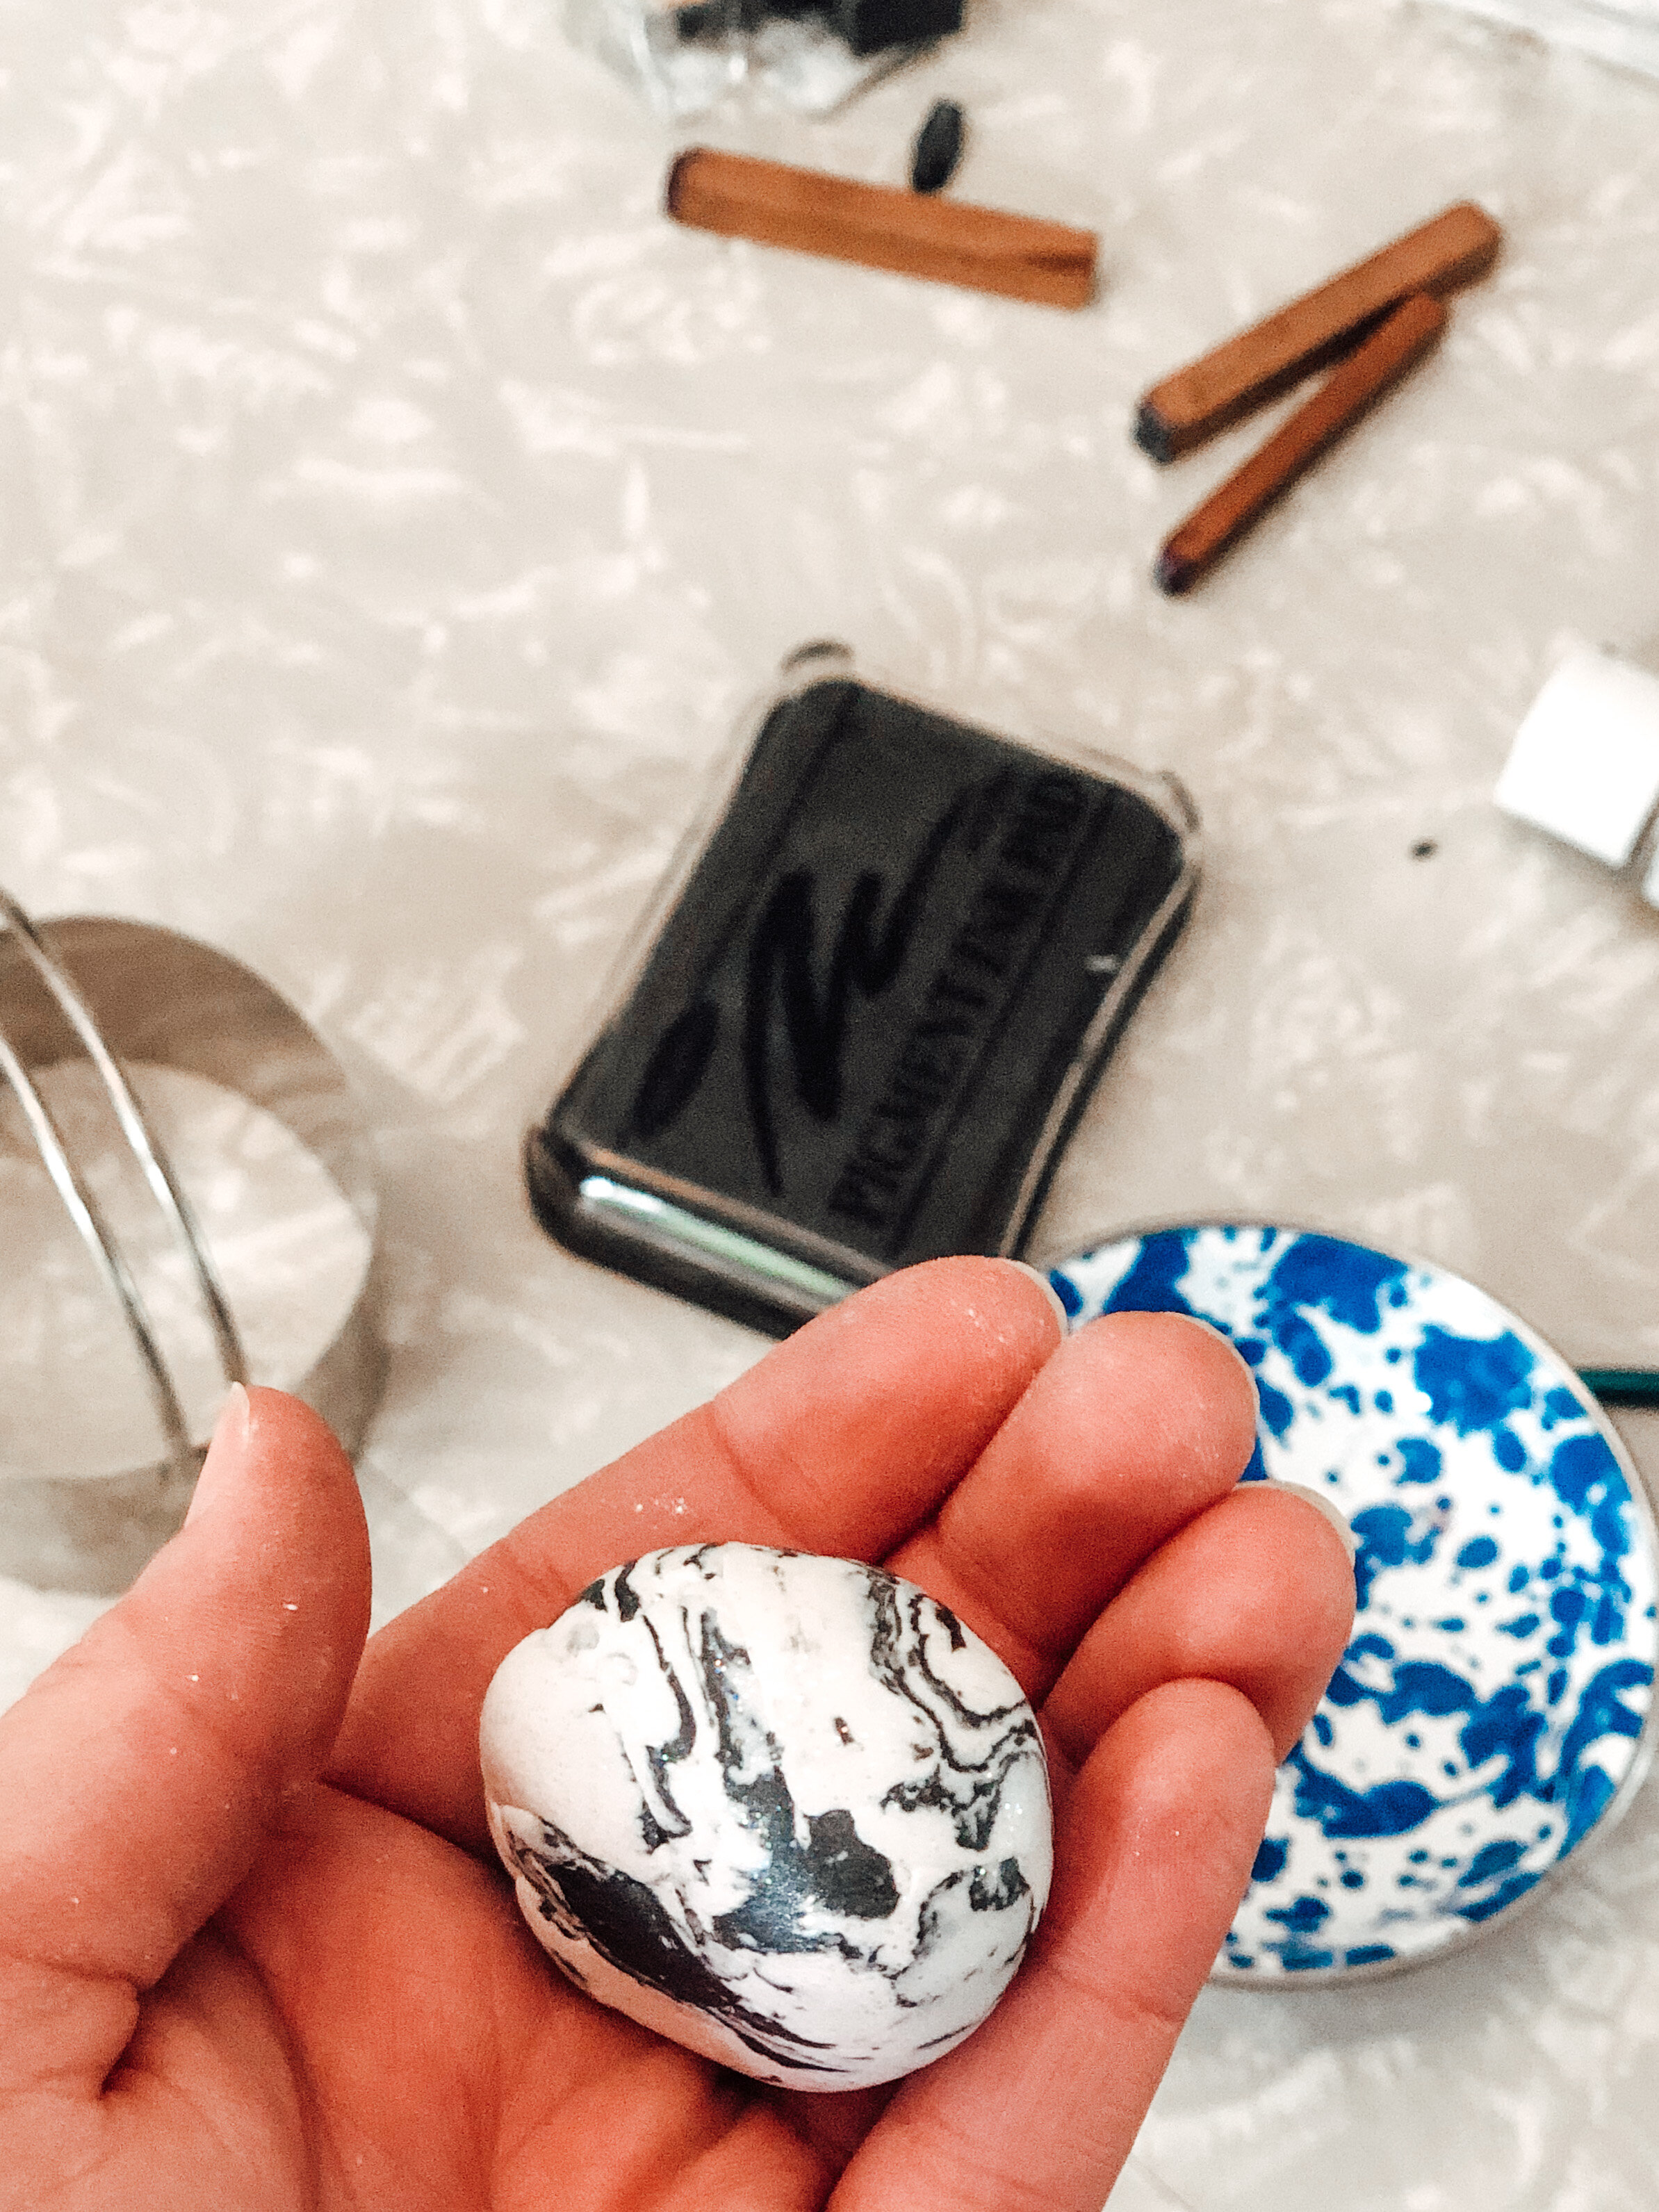
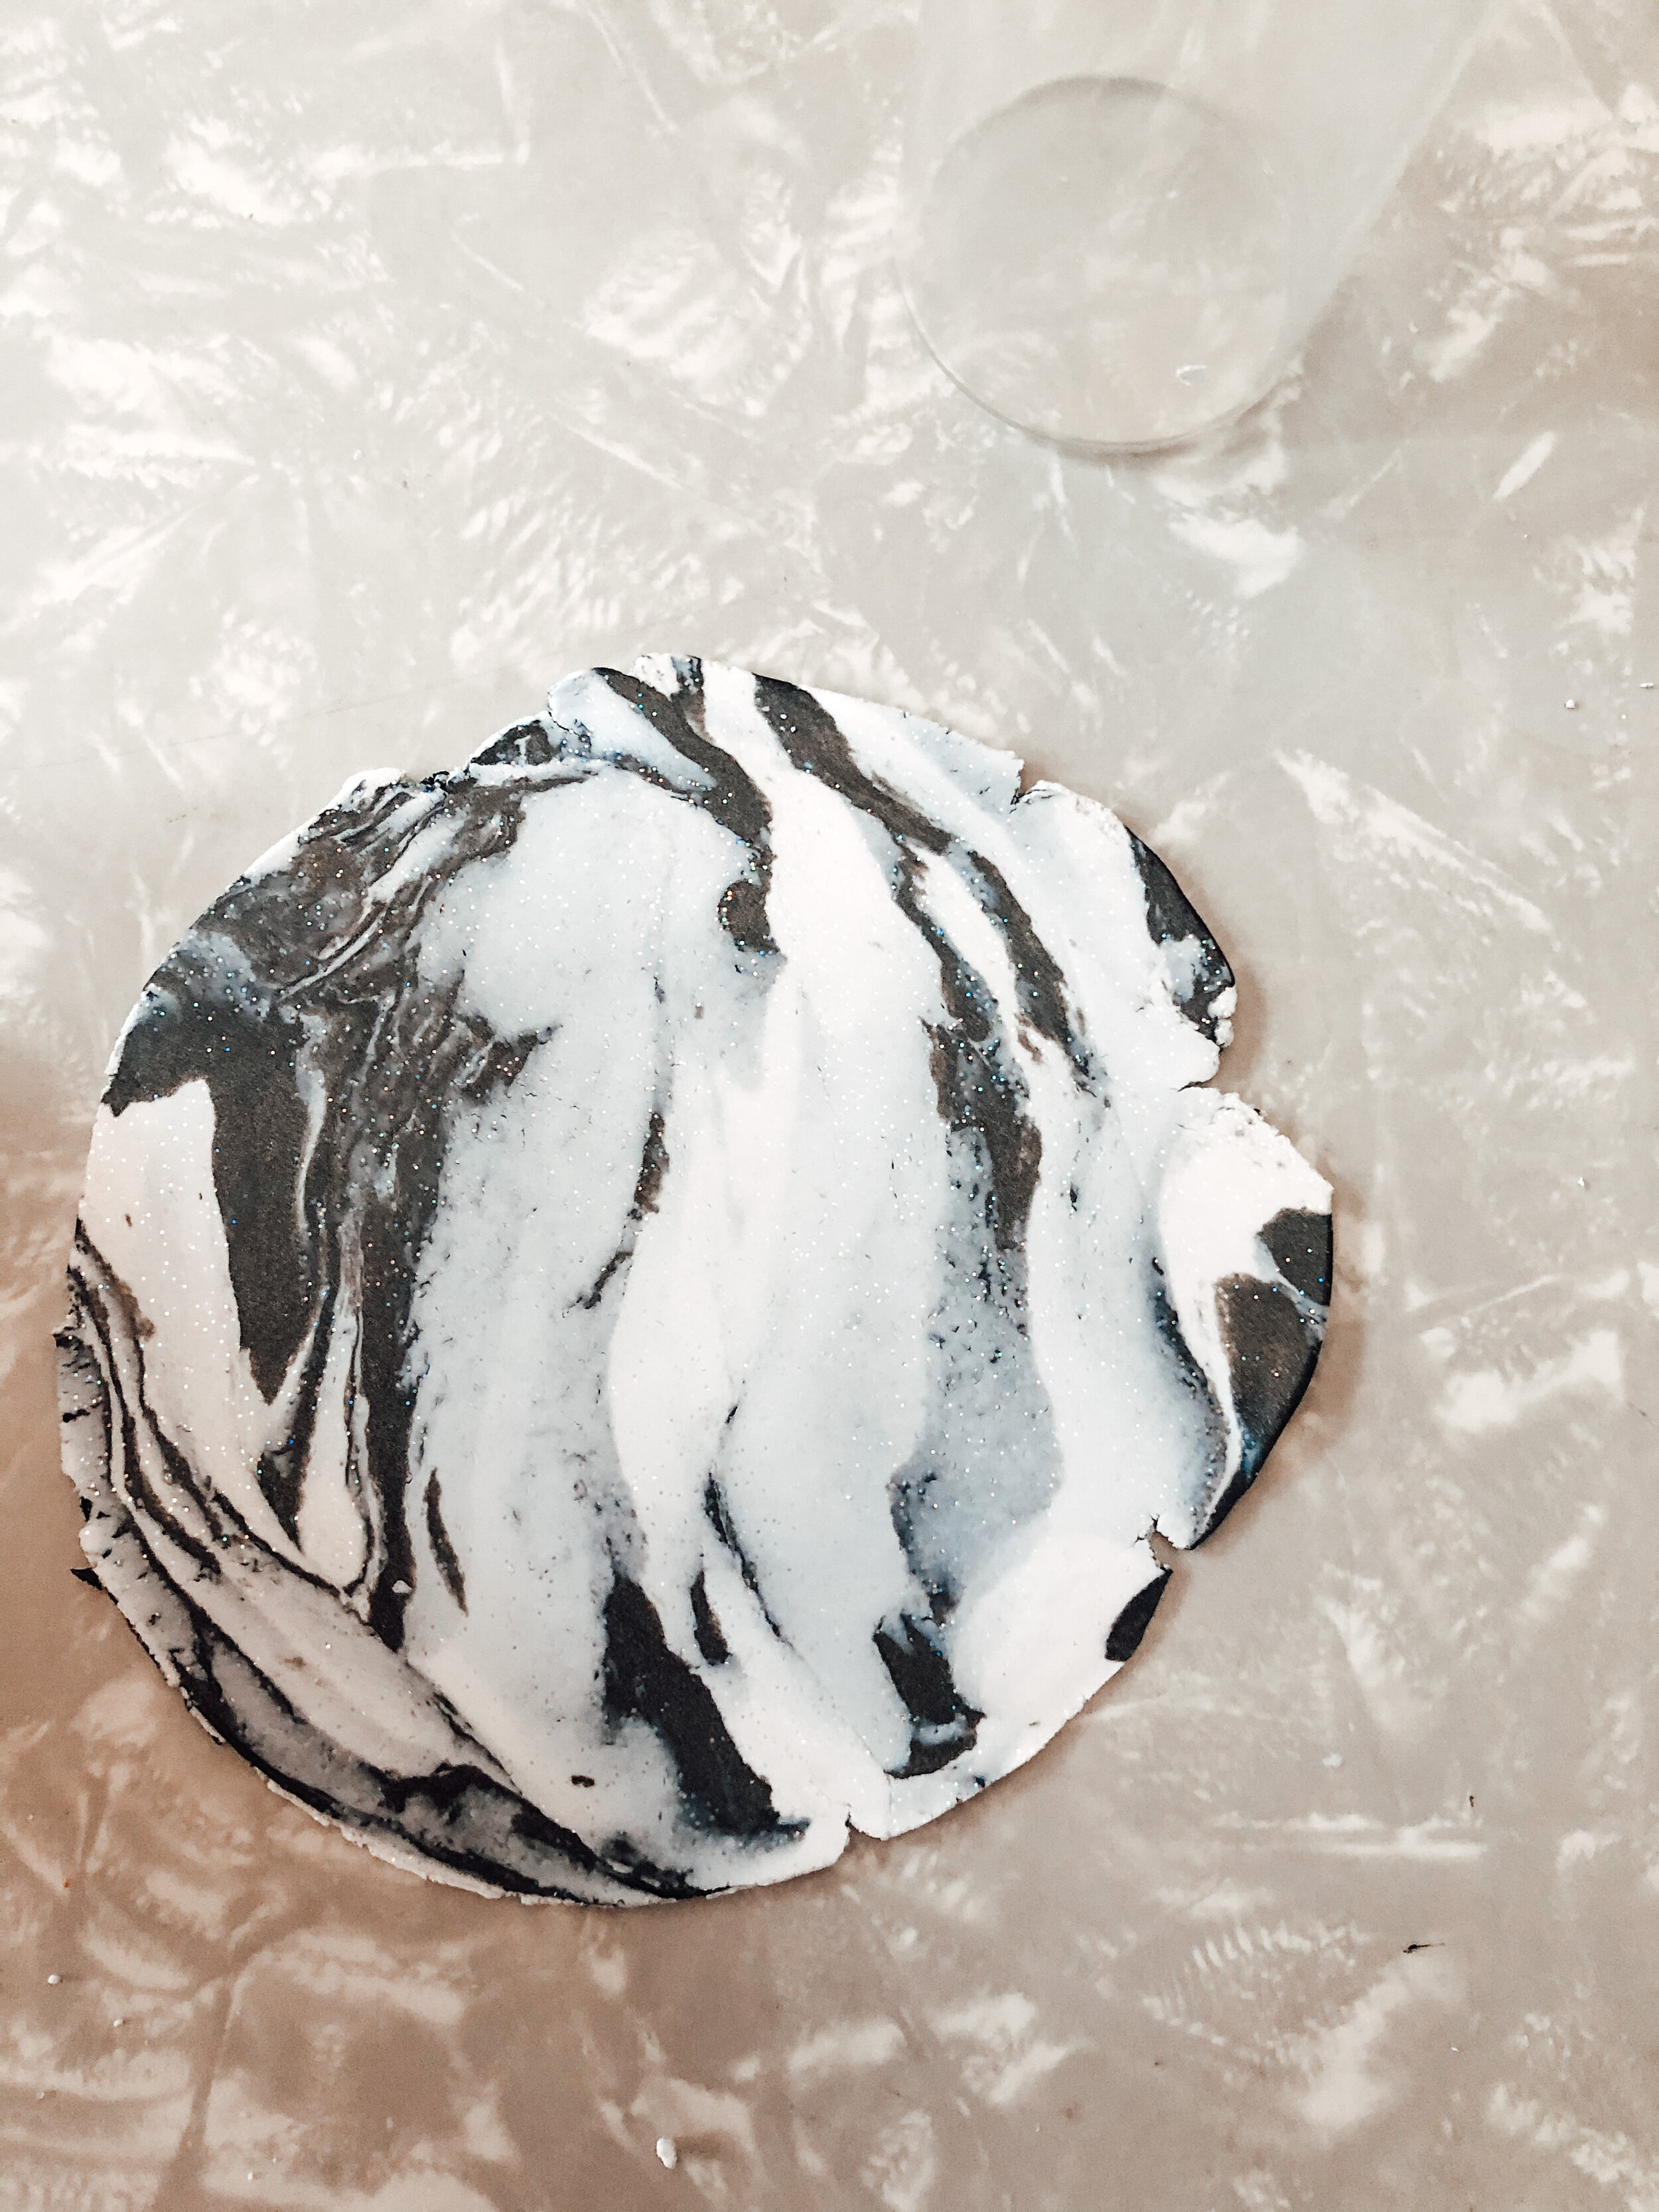
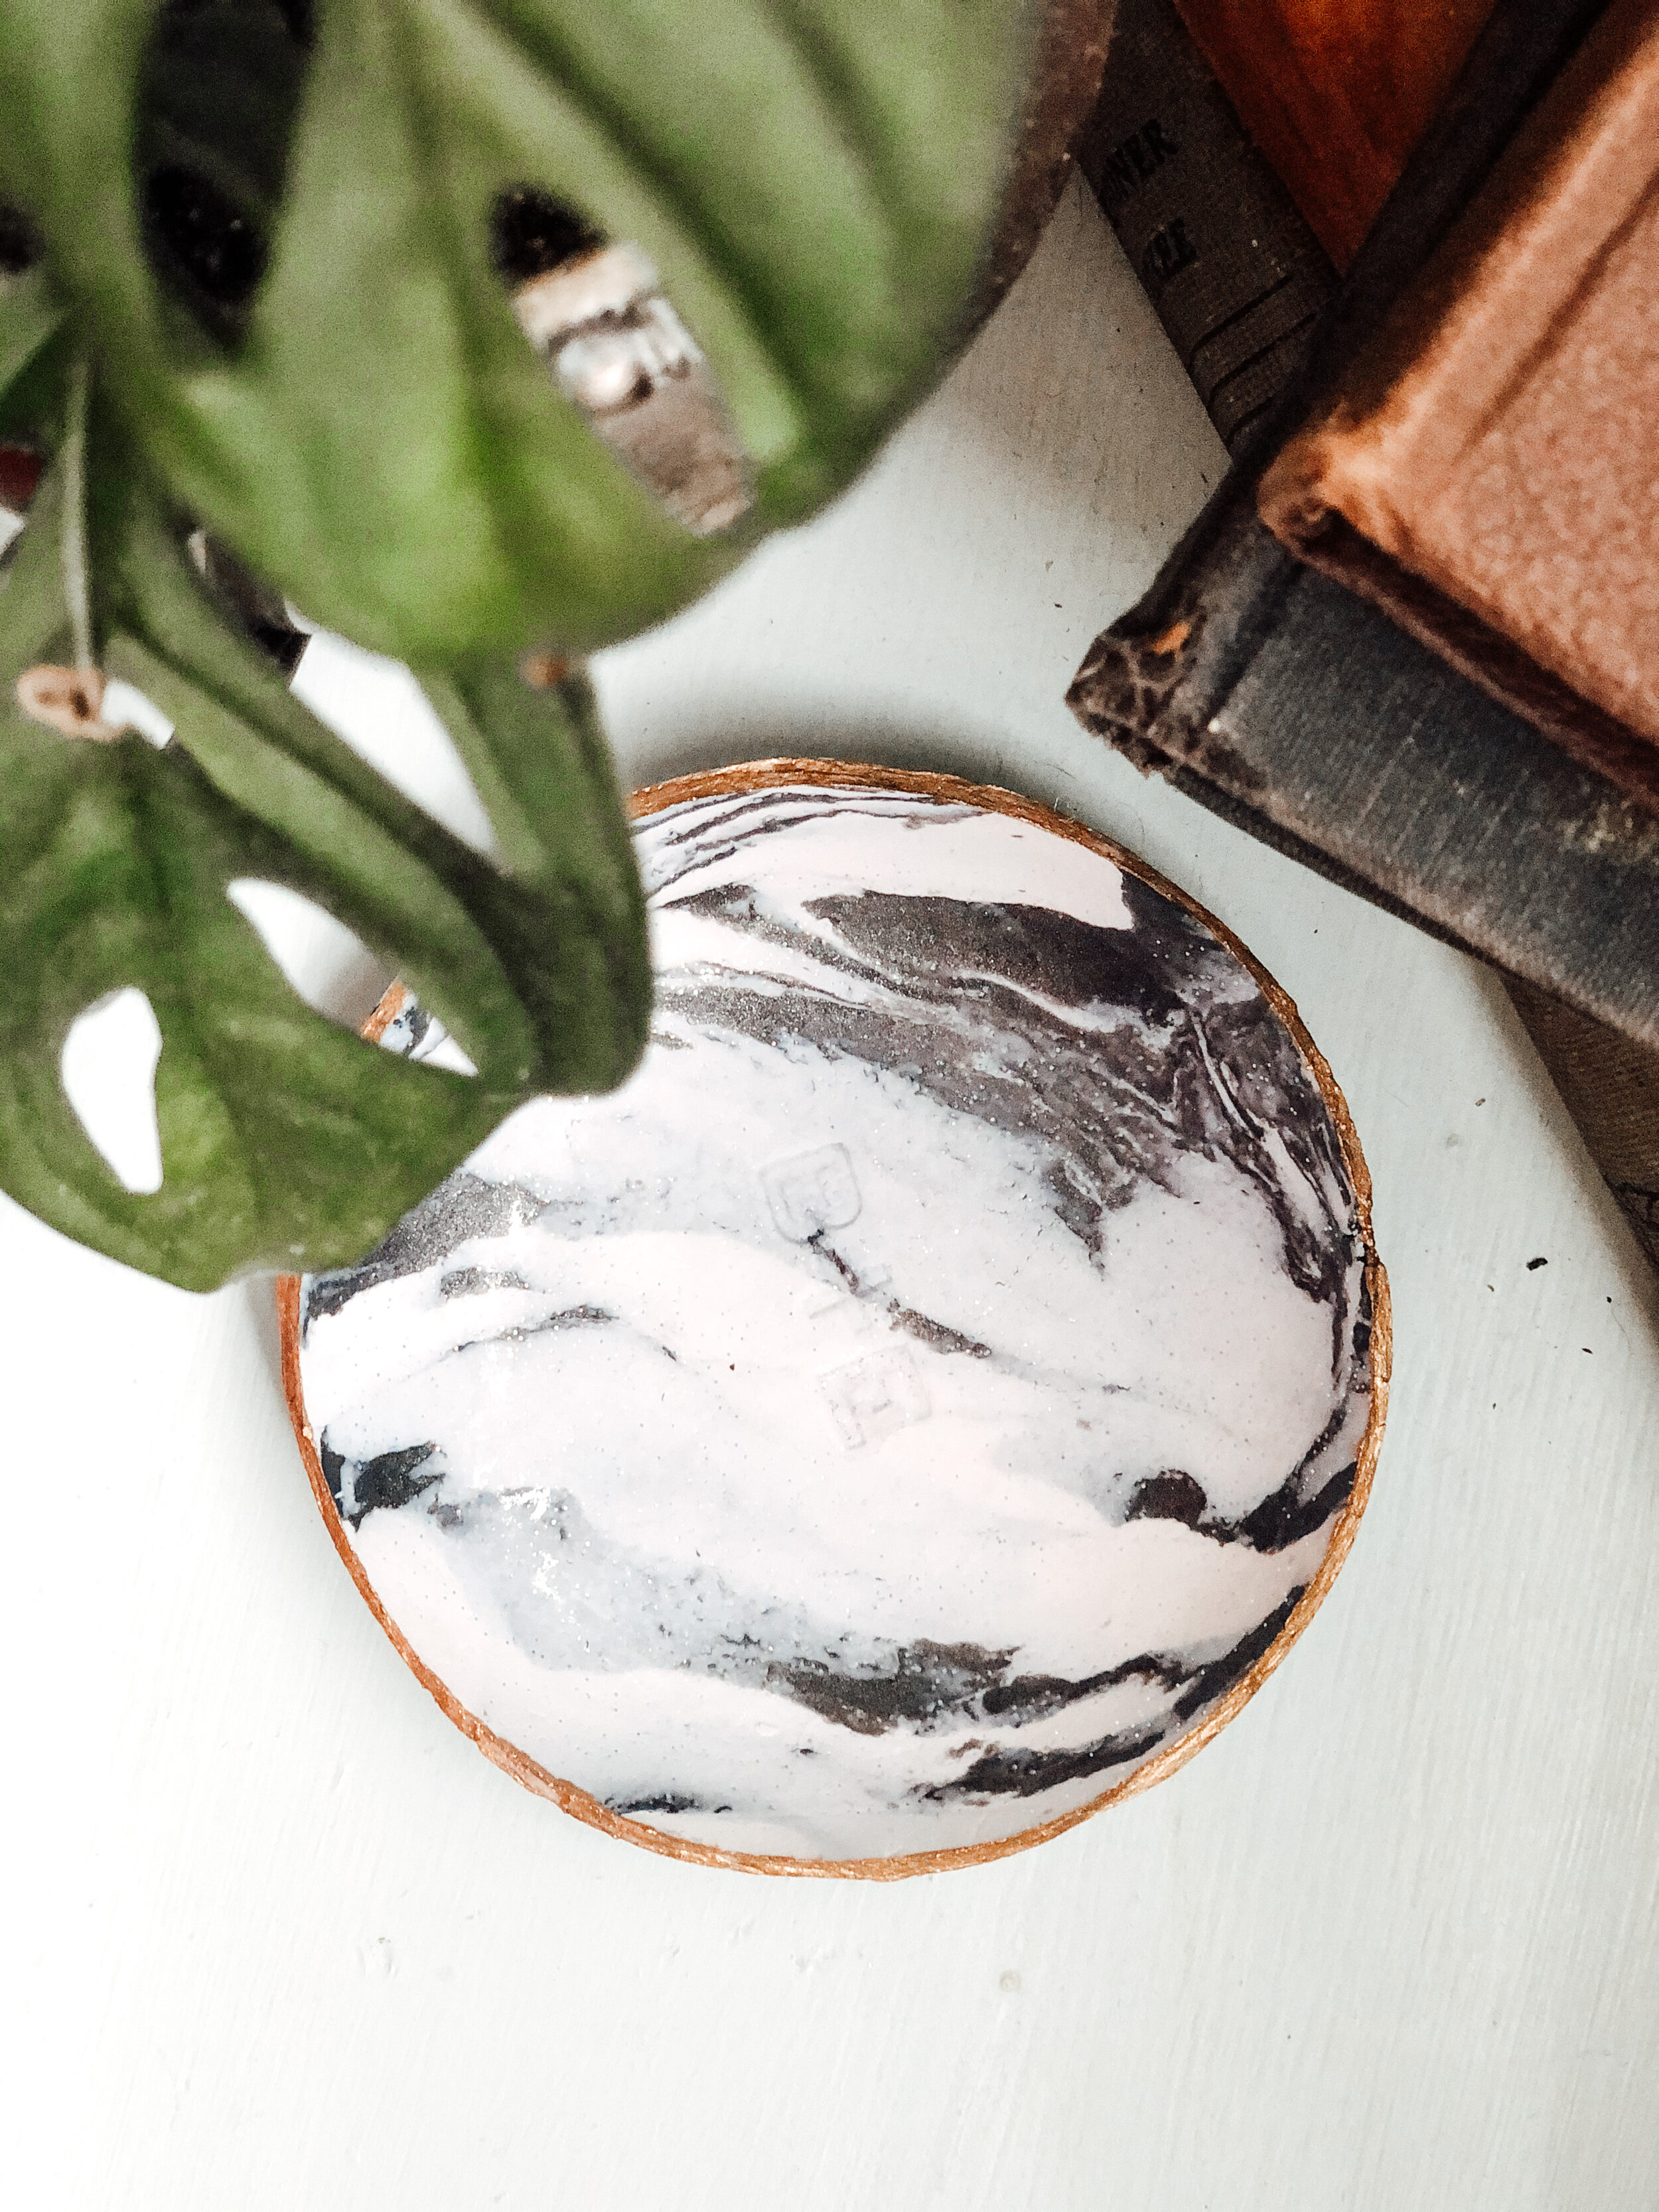
Once you’re happy with the marble pattern, roll it into a ball, and then roll out into a thin disk with your rolling pin. It should be fairly round, but doesn’t have to be perfect since we’ll trim up the edges later. I used this old set of letter stamps to stamp in their initials. I would suggest if you’re going to be stamping something in, roll the clay out to be a little bit thicker (maybe somewhere between 1/8 inch and 1/4 inch) so you can really stick the stamp in. I did not do that and my stamps are a little bit hard to see.

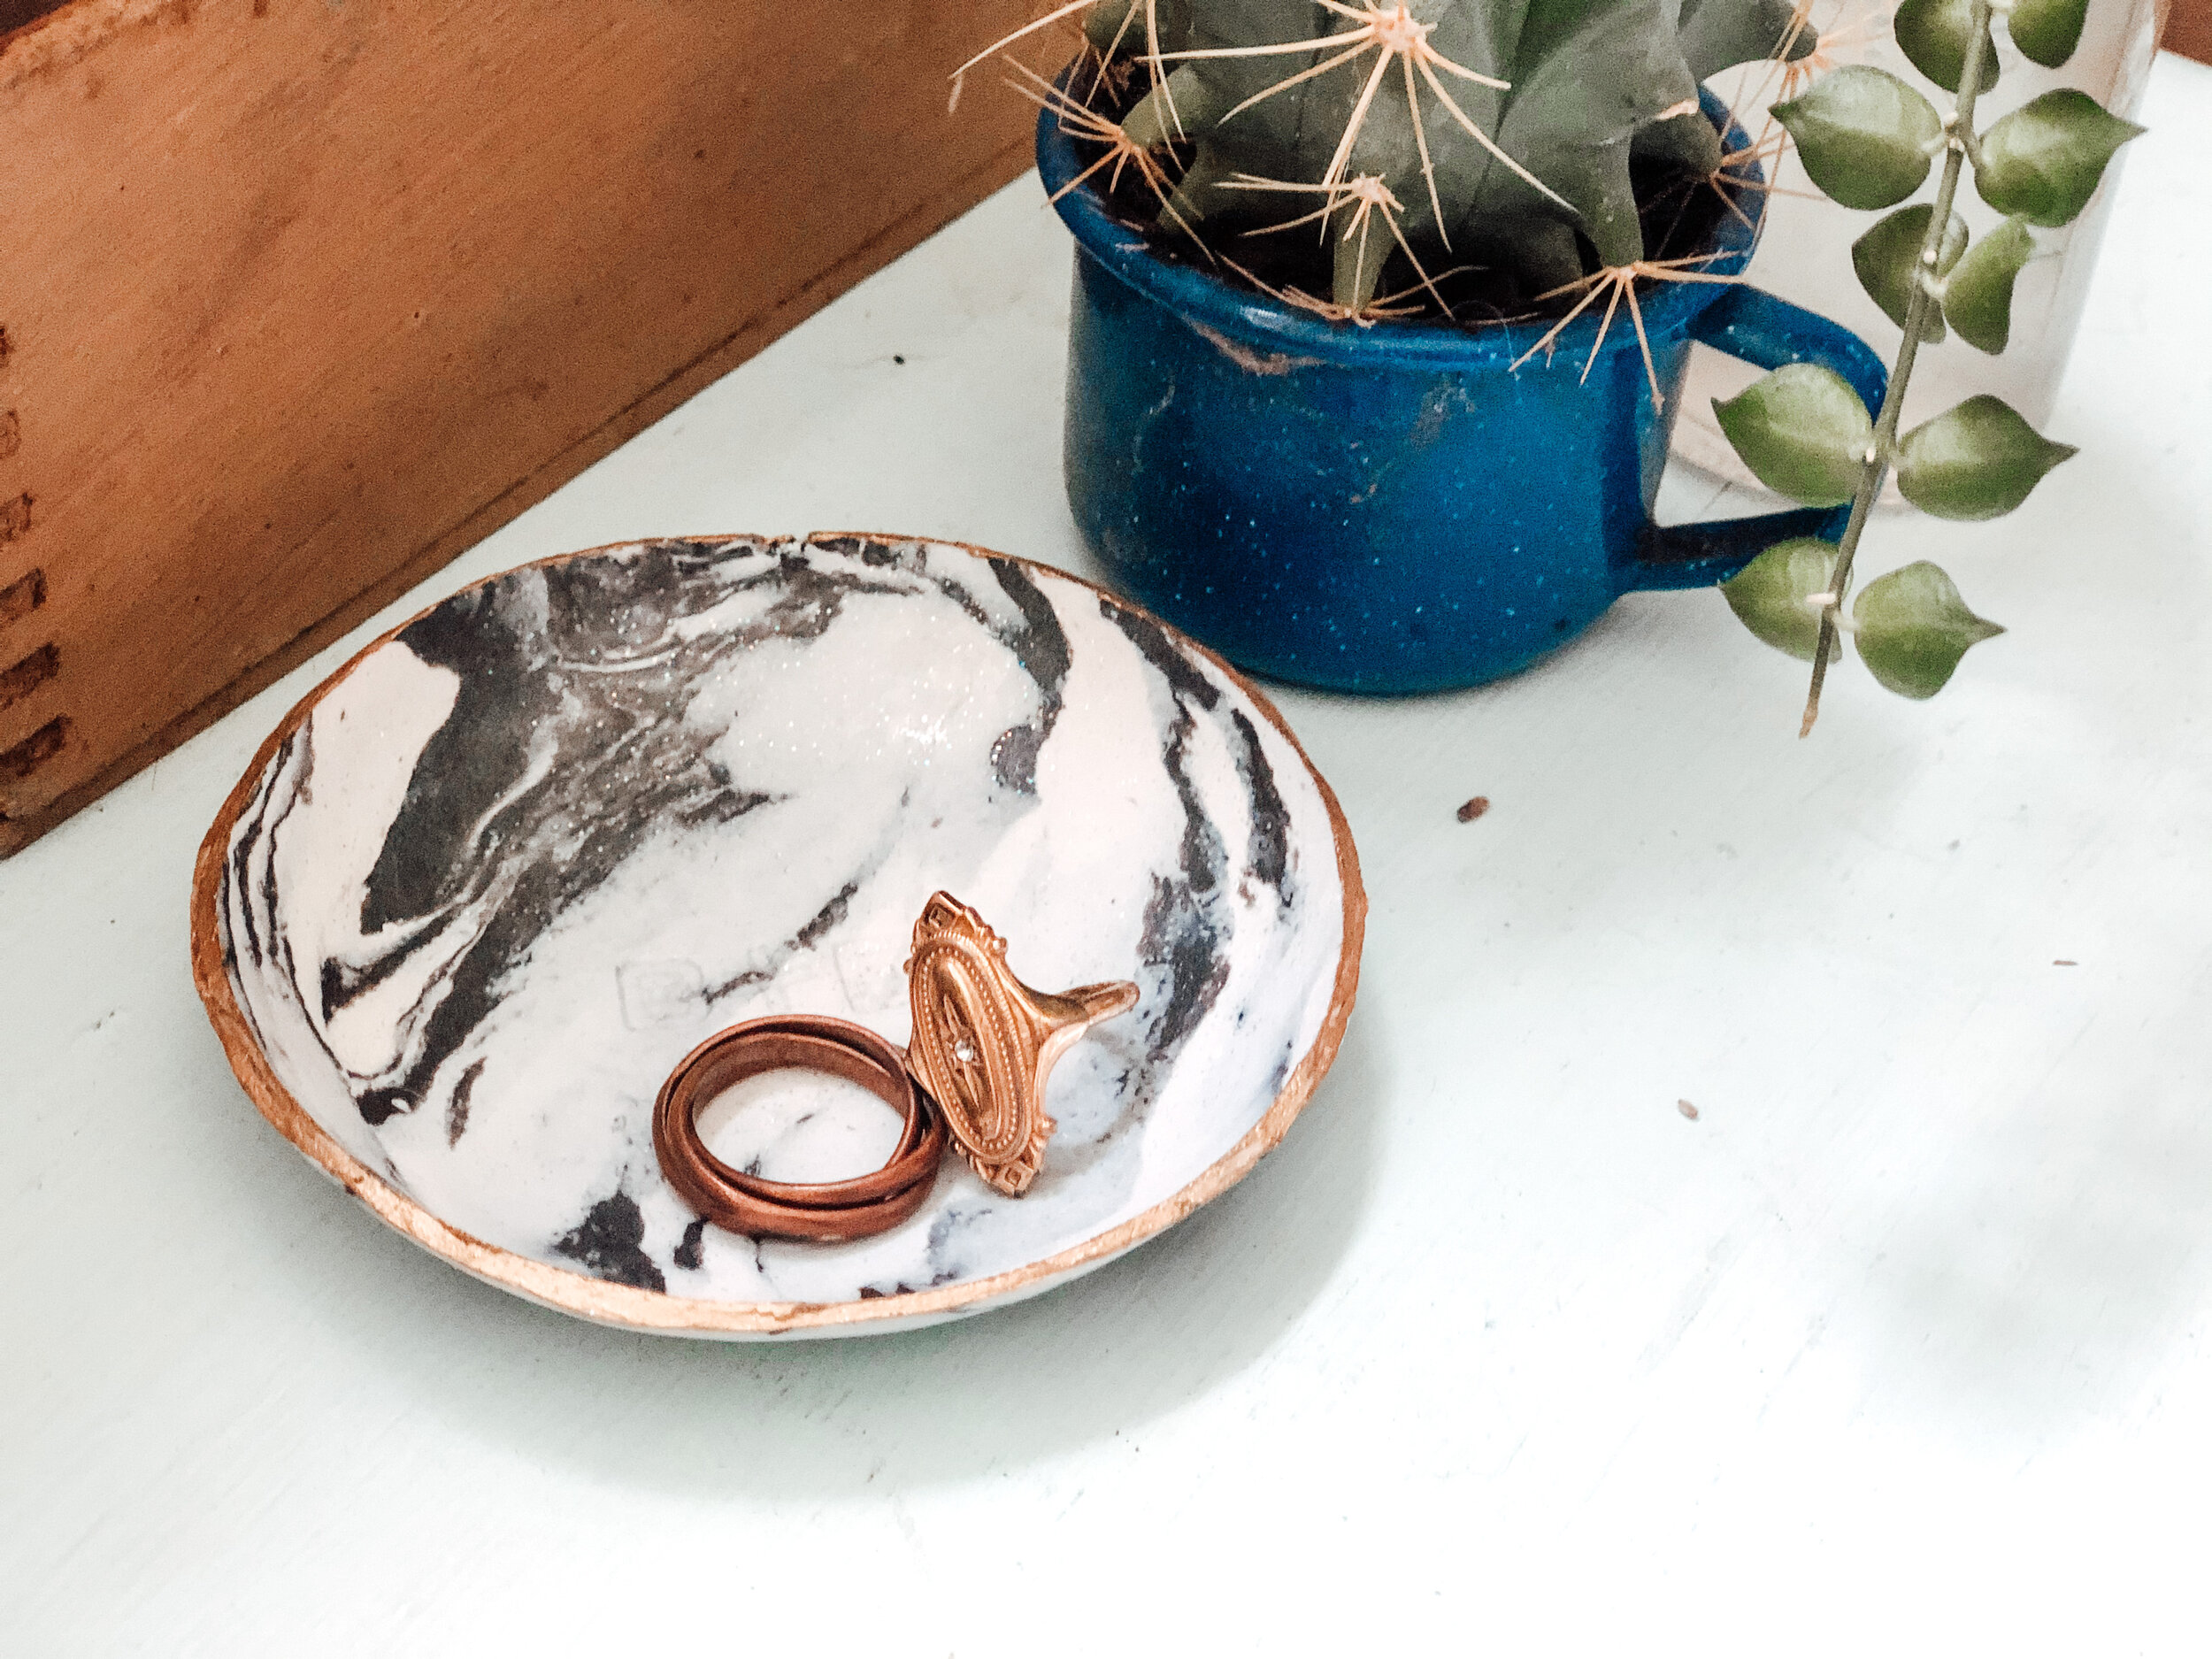
I’m making a ring dish so I used this enamel bowl for shaping. Be sure you use something that is oven-proof. Pace your clay disk over the upturned bowl as centered as you can and use a sharp knife to trim up the edges. I like the slightly uneven look so I just do it by hand and get those nice almost even but not quite edges. Bake according to your clay package instructions (for me it was 30 minutes at 275 degrees).

Let it cool completely when it comes out. It can be a bit difficult to remove from your shaping bowl but be patient and work carefully so it won’t crack. It’ll pop off eventually! And when it does, it is so darn cute.

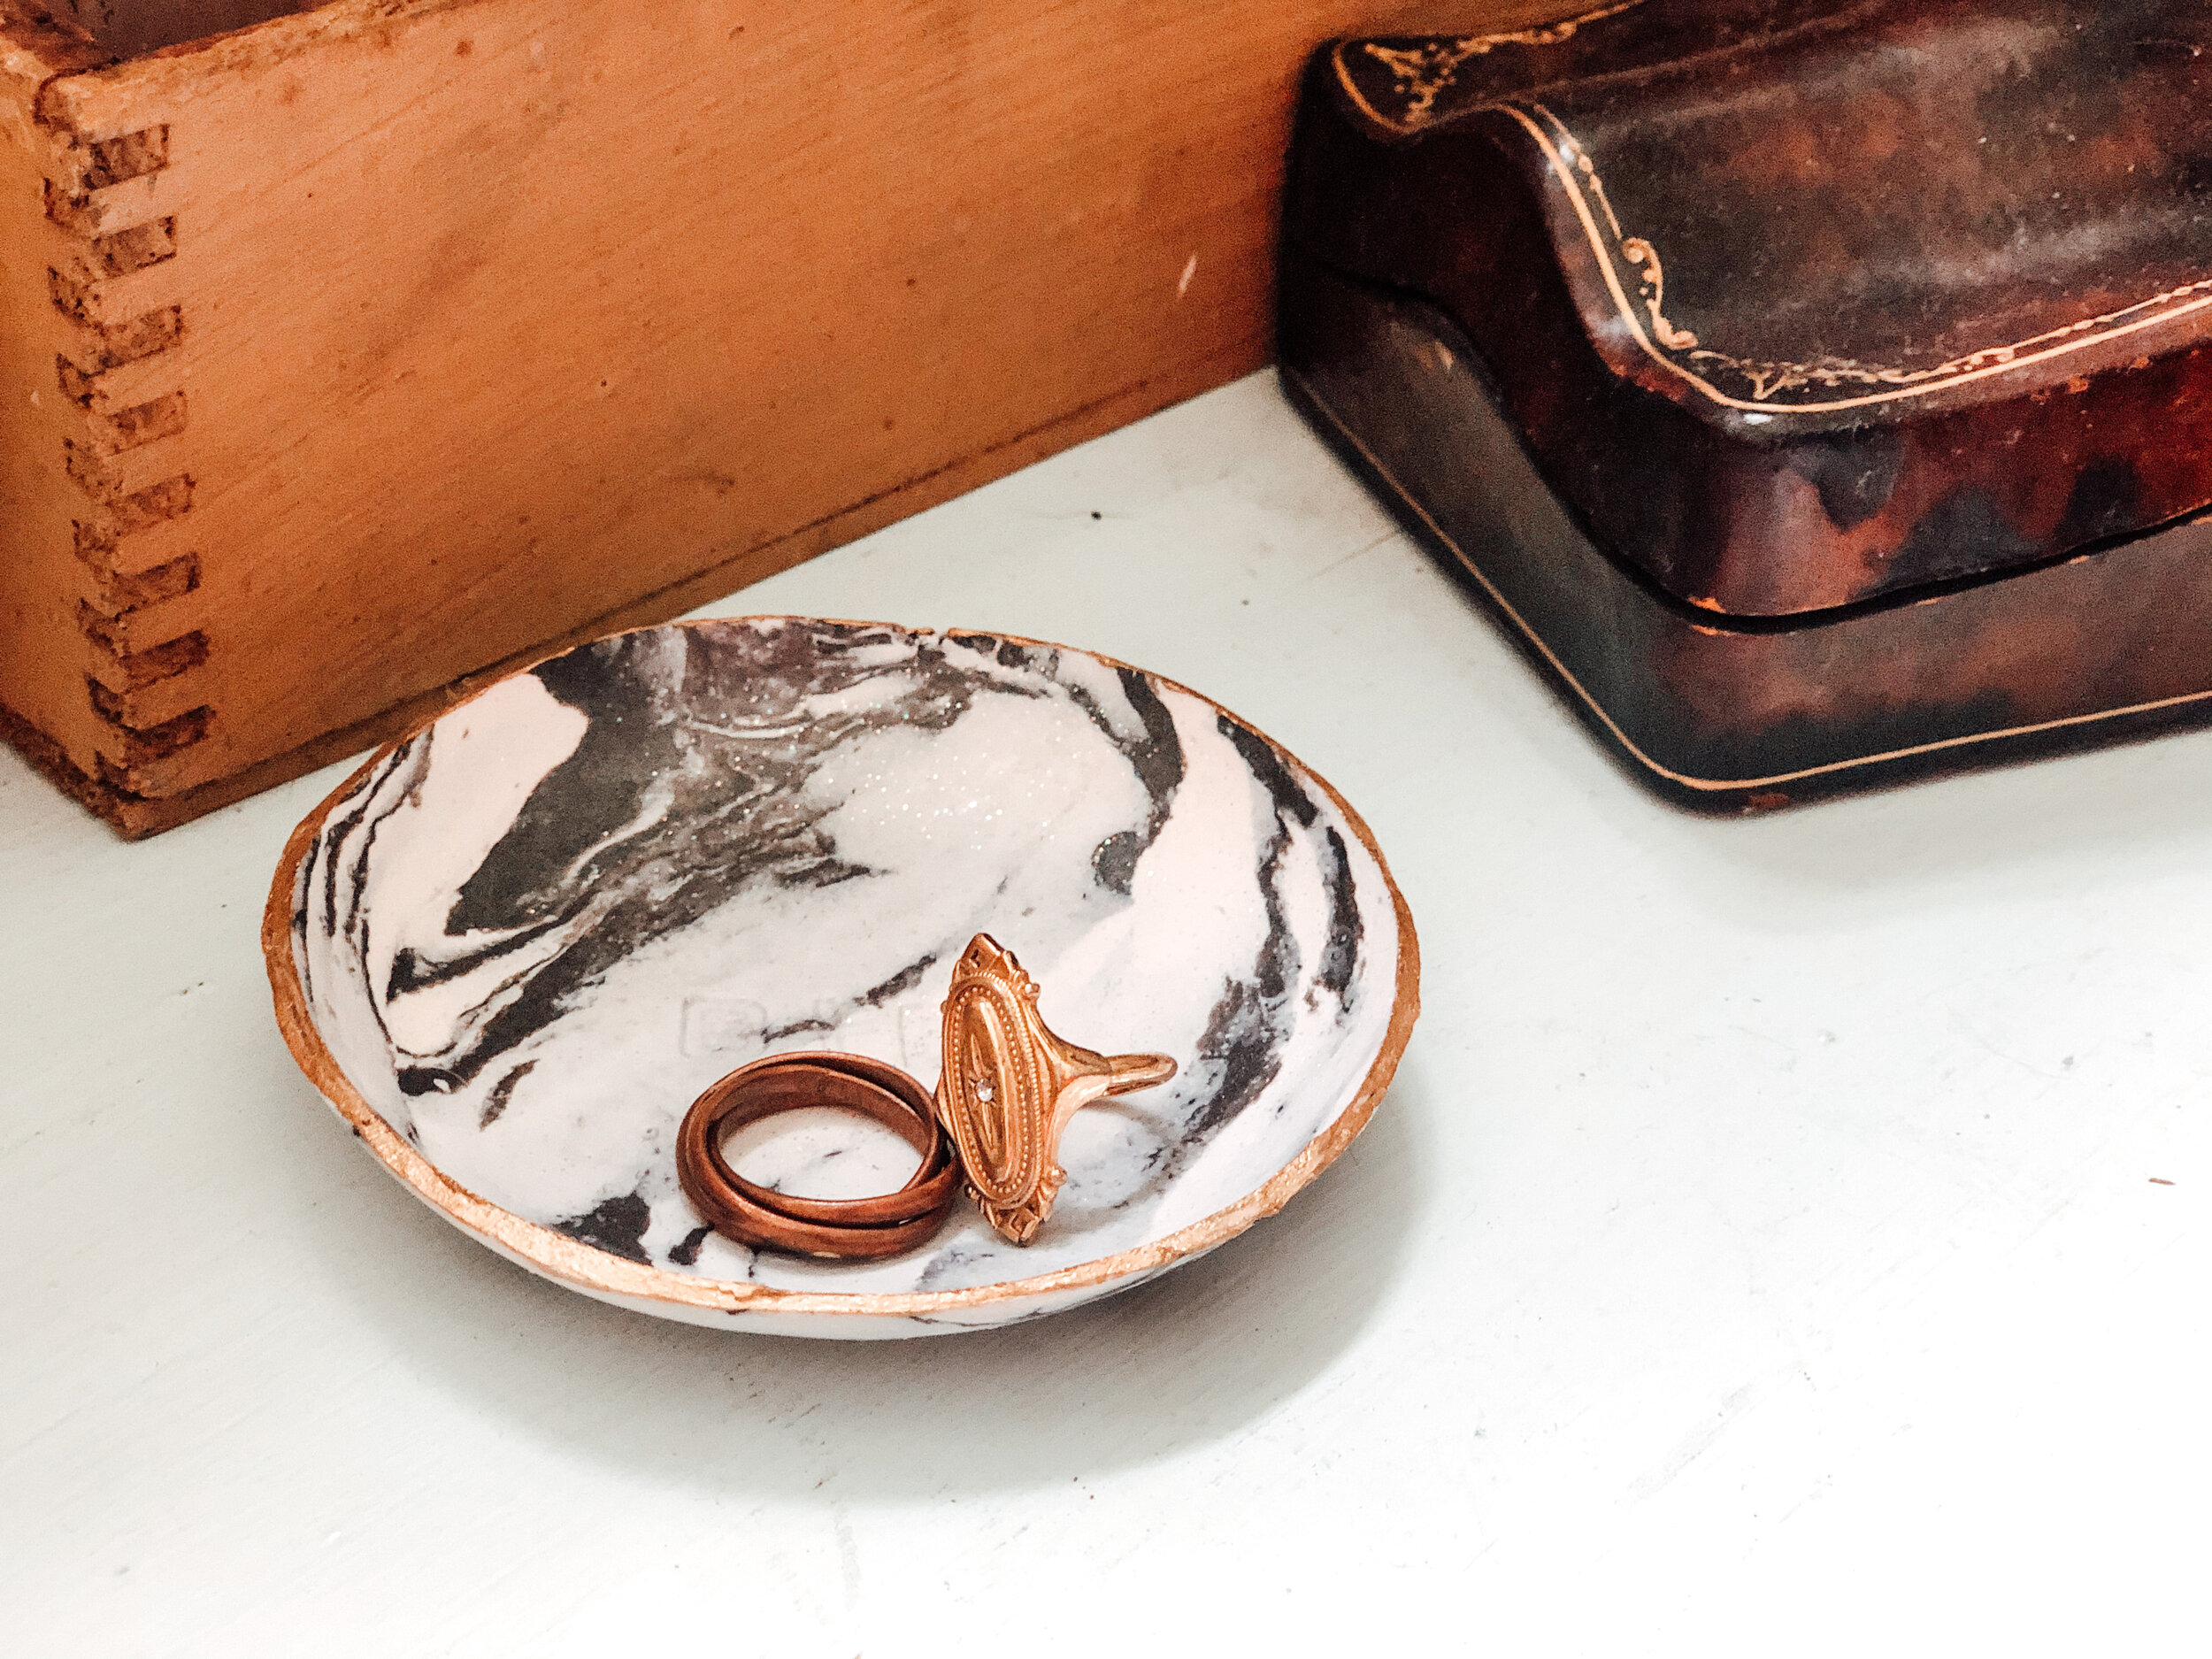
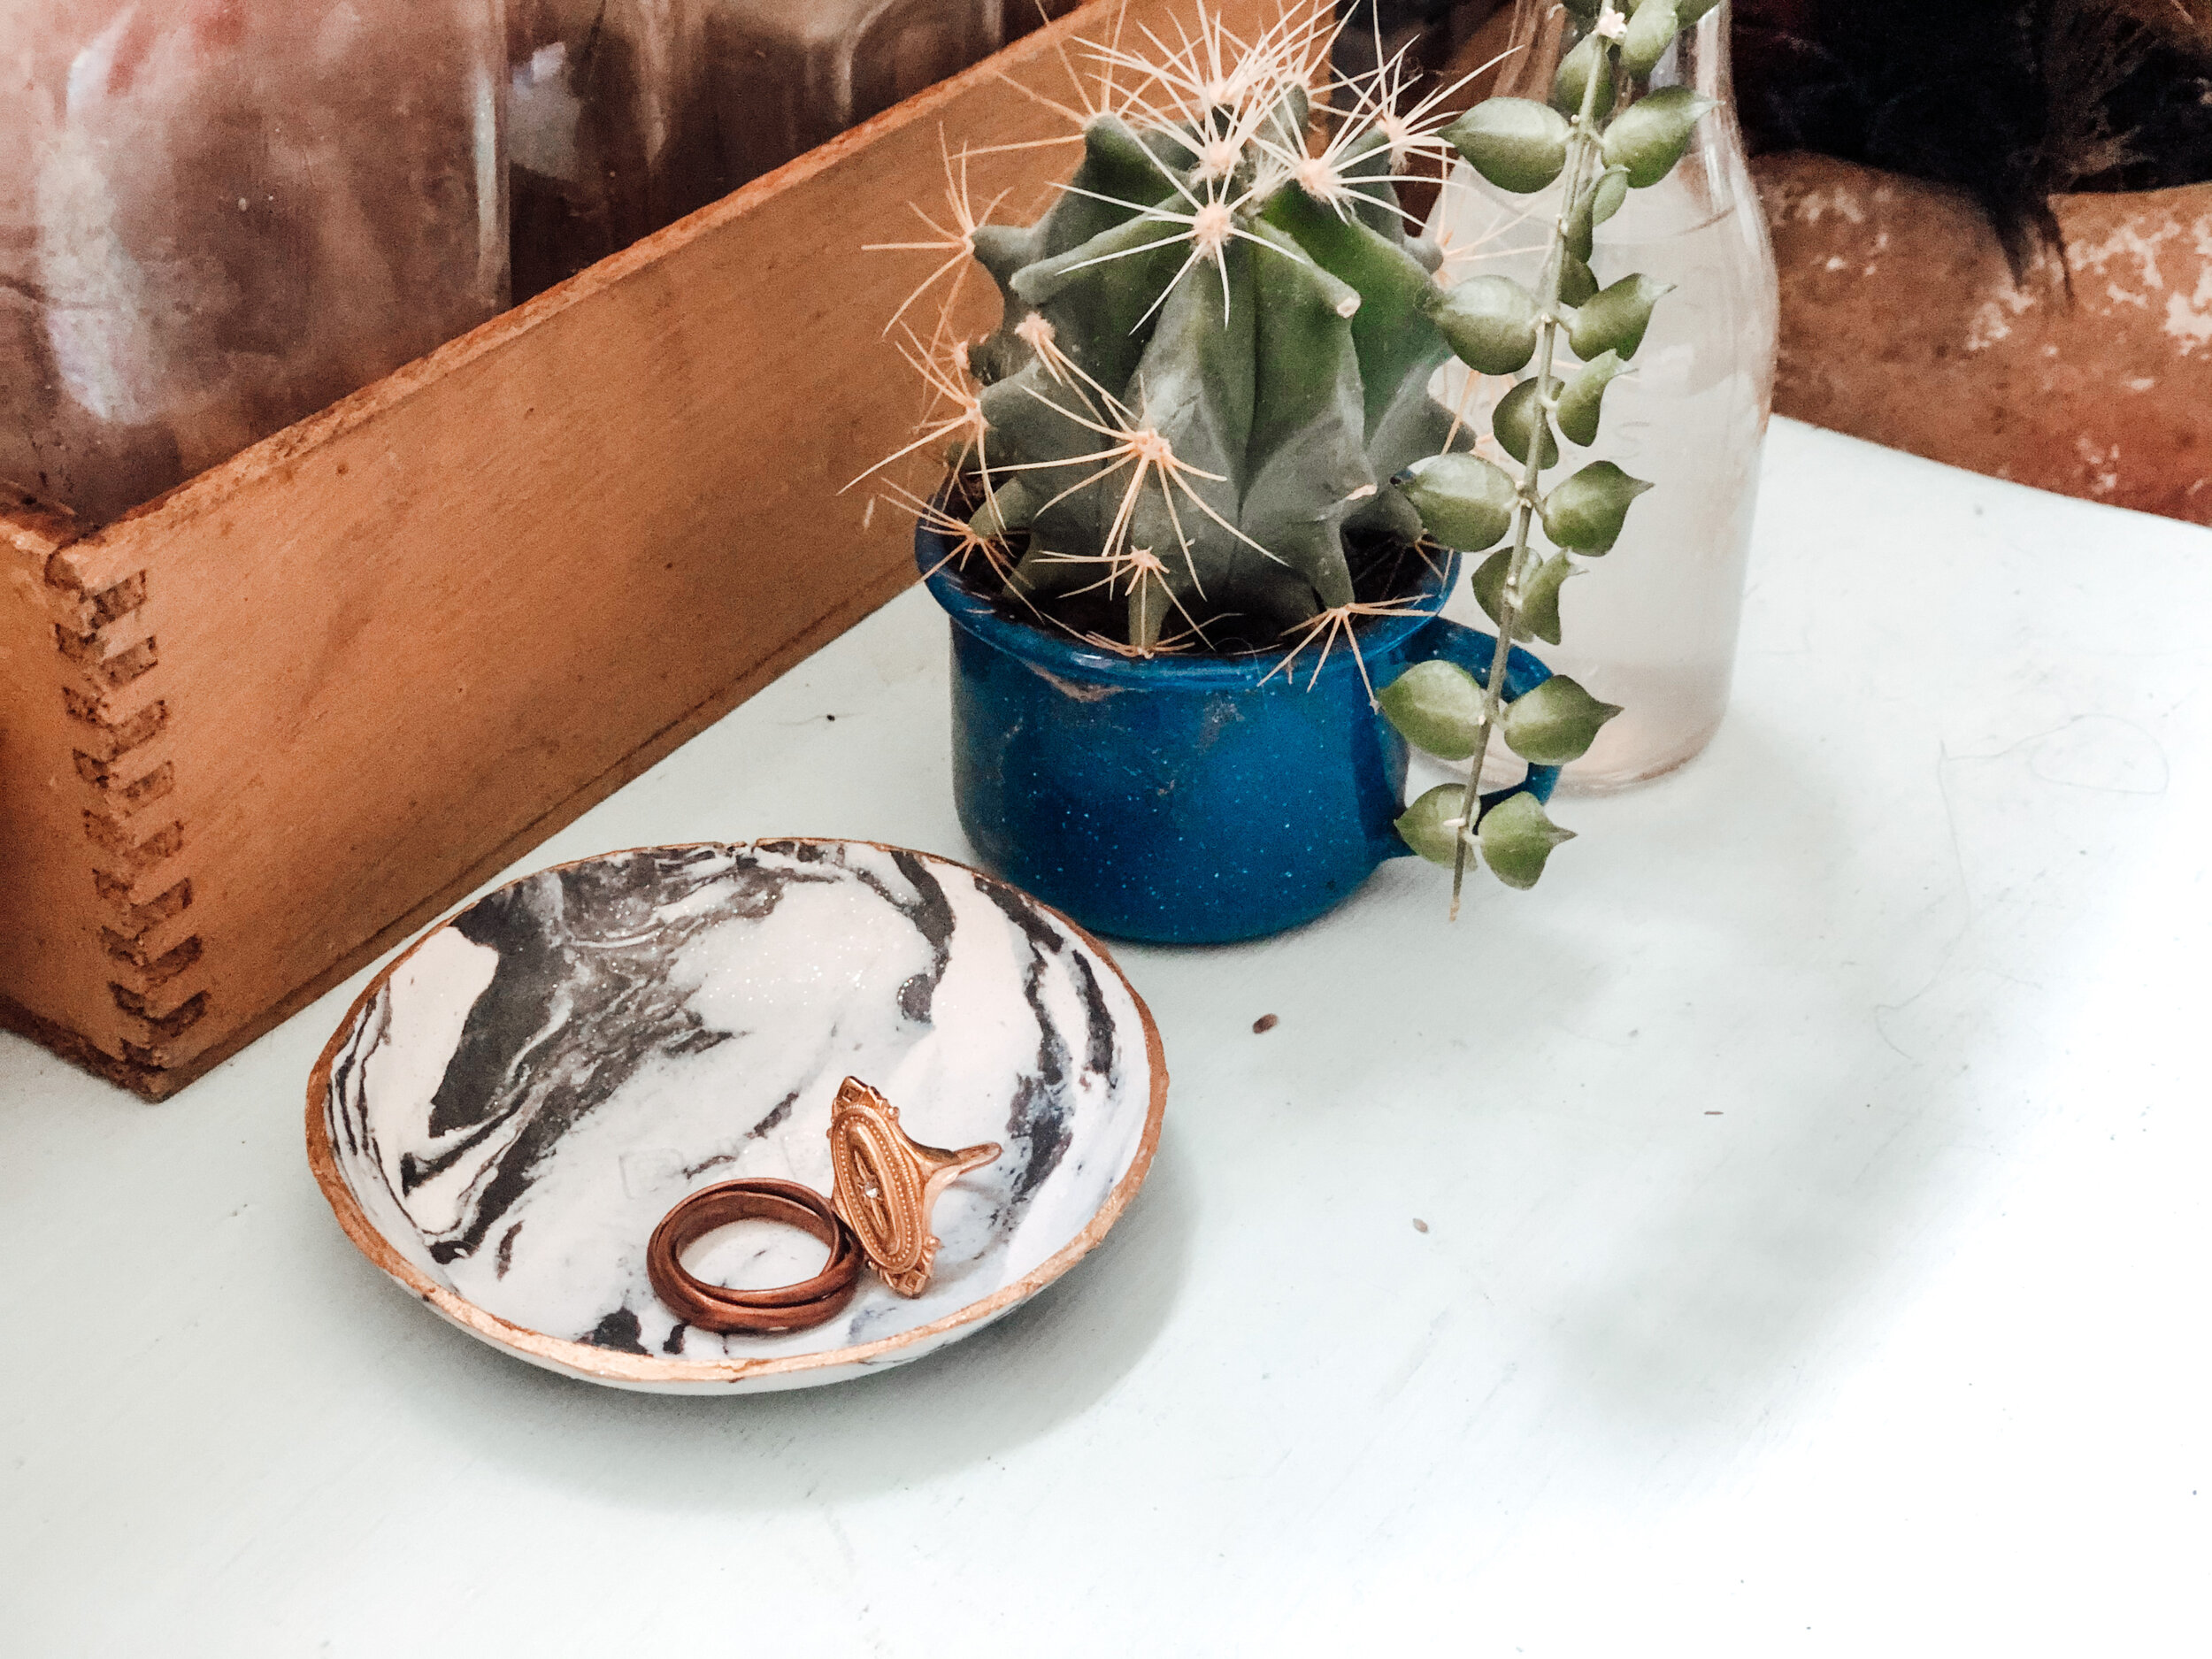
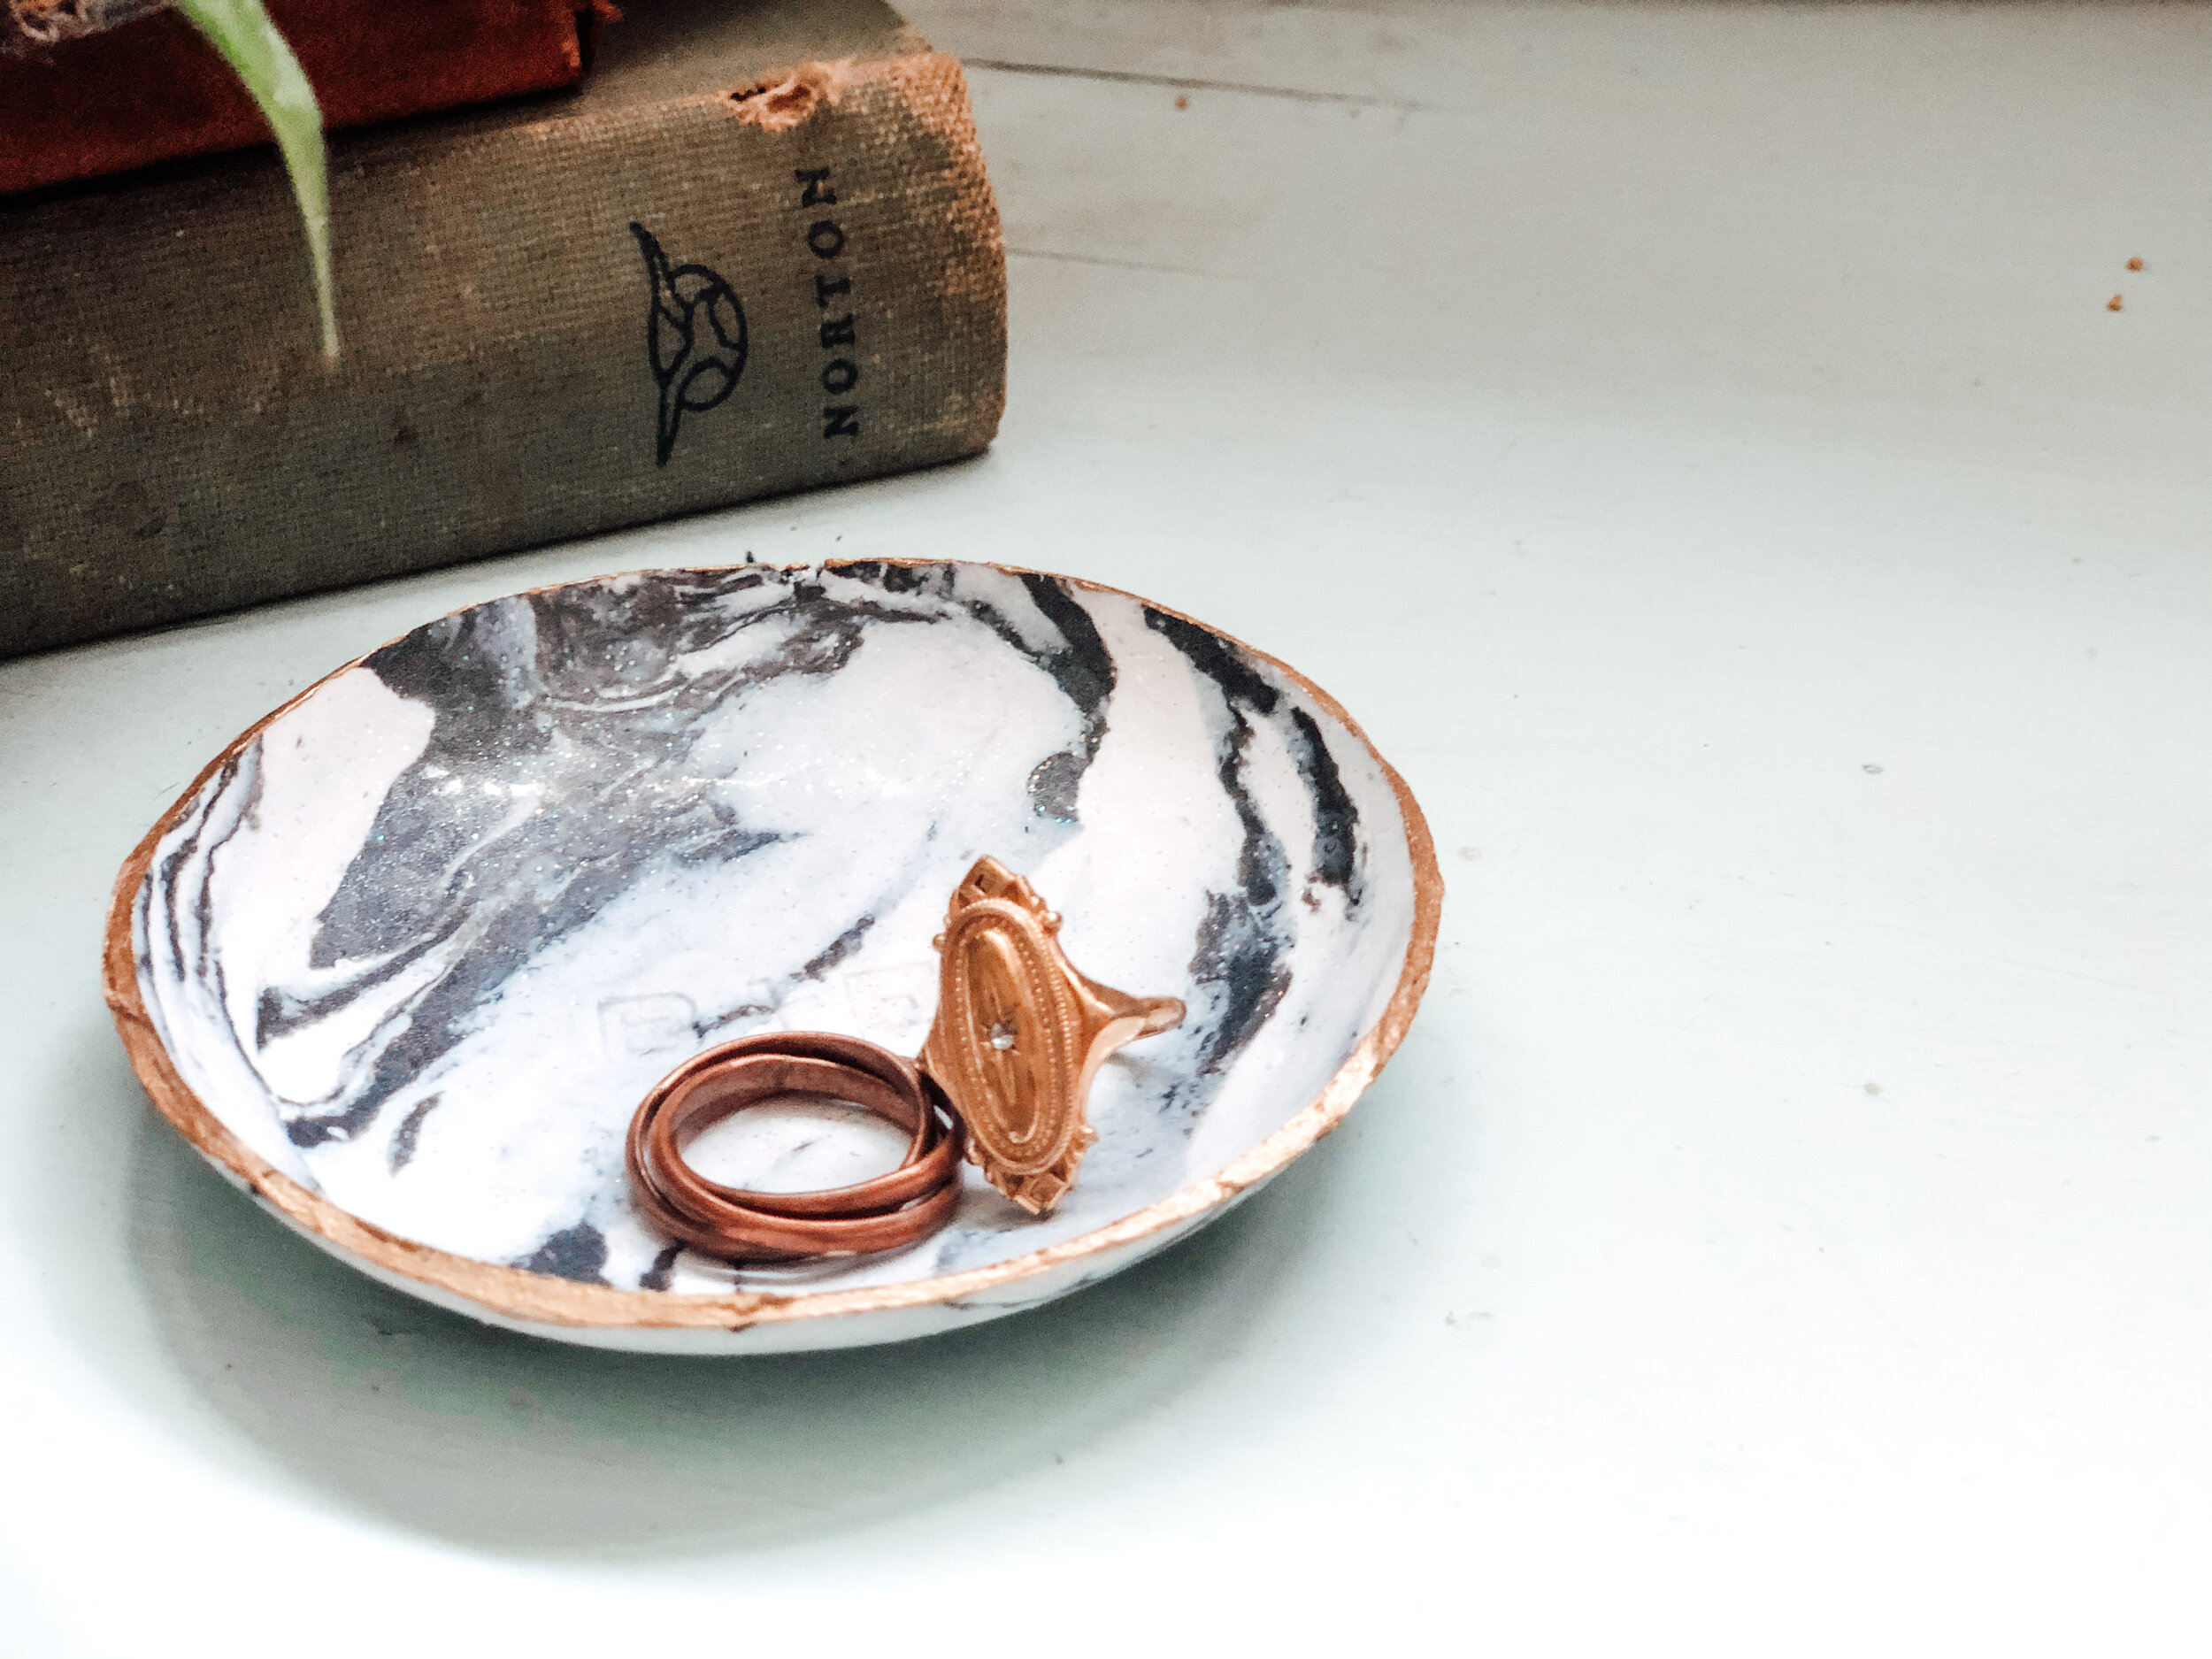
I finished mine by painting the edges with a nice gold paint which I feel like really sealed the deal and upped the fancy just that last little bit for a really pretty, personalized ring dish I made with my own two hands!
These are perfect for gifts of any kind and can be used for pretty much anything. A great afternoon craft for feeling accomplished and making something really pretty and functional.